 AI
AI
 ChatGPT
 Gemini
 Thư viện Prompt
 Công nghệ
 Học IT
 Tiện ích

Một trong những tính năng tốt nhất giúp Windows Server tỏa sáng trong lĩnh vực doanh nghiệp là Active Directory. Công cụ đăng nhập một lần này tích hợp liền mạch và dễ dàng với hầu hết các sản phẩm của Microsoft giúp việc quản lý người dùng (trong số nhiều tác vụ khác) trở nên khá dễ dàng và thú vị. Hướng dẫn này sẽ chỉ cho bạn cách cài đặt Active Directory Domain Services trên Windows Server 2019.
Cách cài đặt Active Directory trên Windows Server 2019
Để cài đặt Active Directory Domain Service (AD DS), hãy thực hiện như sau:
Trên cài đặt CUI, thực thi các lệnh như sau:
1. Chạy PowerShell với quyền admin và cài đặt AD DS.
Windows PowerShell
Copyright (C) Microsoft Corporation. All rights reserved.

# install AD DS with admin tools
PS C:\Users\Administrator> Install-WindowsFeature -name AD-Domain-Services -IncludeManagementTools

Success Restart Needed Exit Code      Feature Result
------- -------------- ---------      --------------
True    Yes            SuccessRest... {Active Directory ,...
WARNING: You must restart this server to finish the installation process.

# restart computer to apply changes
PS C:\Users\Administrator> Restart-Computer -Force
Trên cài đặt GUI, cấu hình như sau:
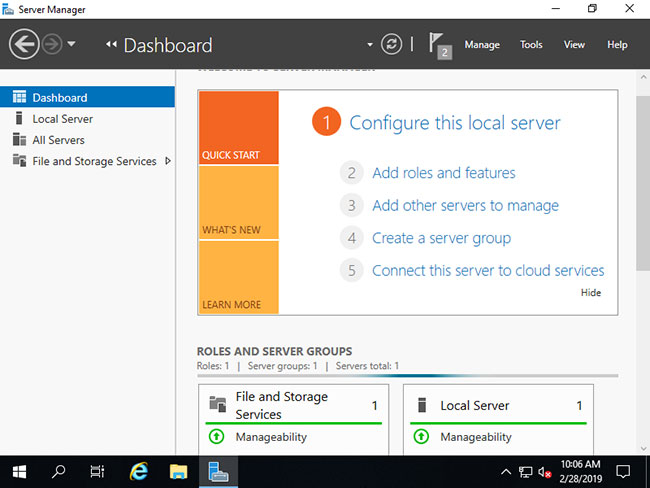
2. Chạy Server Manager và nhấp vào Add roles and features.
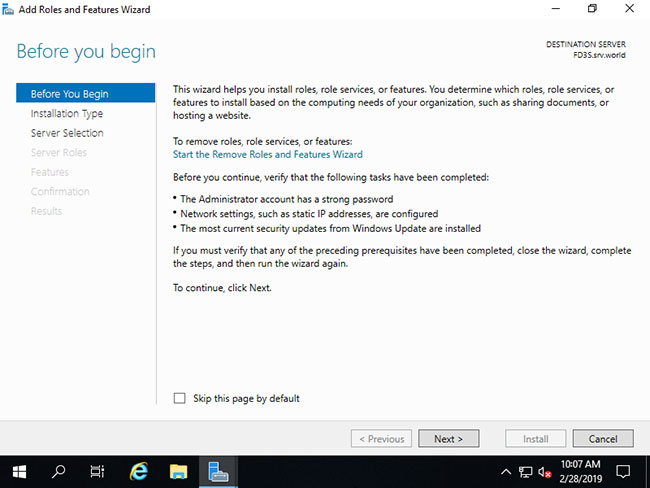
3. Nhấp vào nút Next.
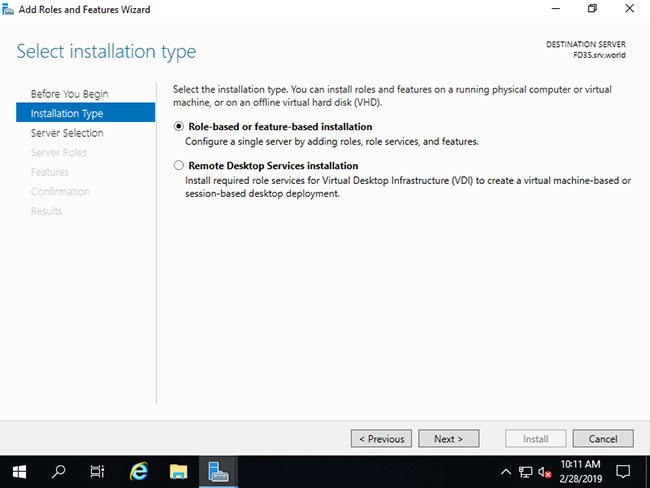
4. Chọn Role-based or feature-based installation.
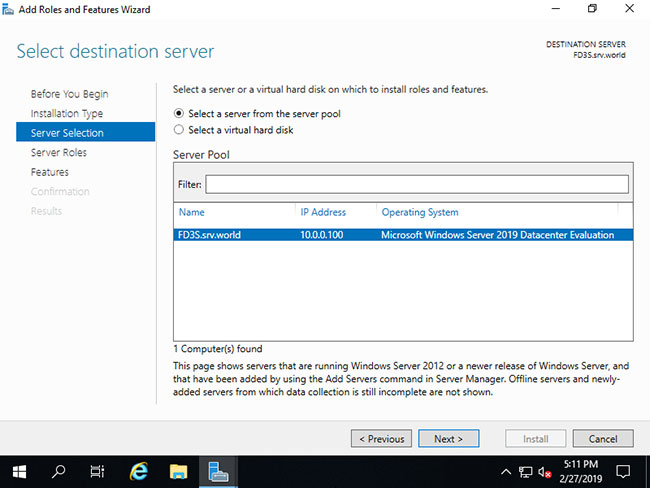
5. Chọn host bạn muốn thêm các service.
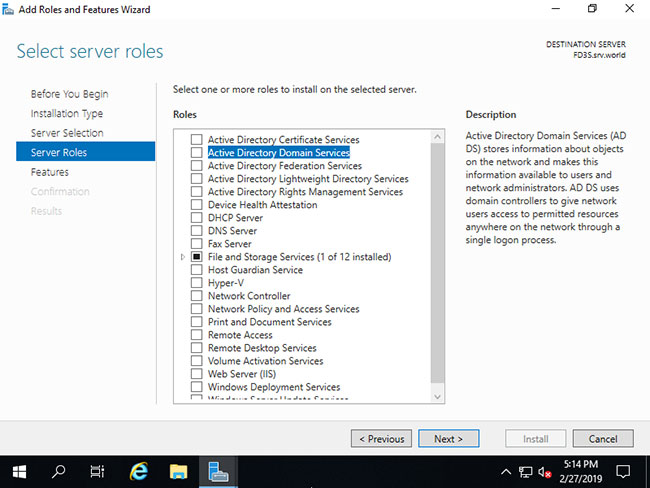
6. Tích vào hộp Active Directory Domain Services.
7. Các tính năng bổ sung được yêu cầu để thêm AD DS. Nhấp vào nút Add Features.
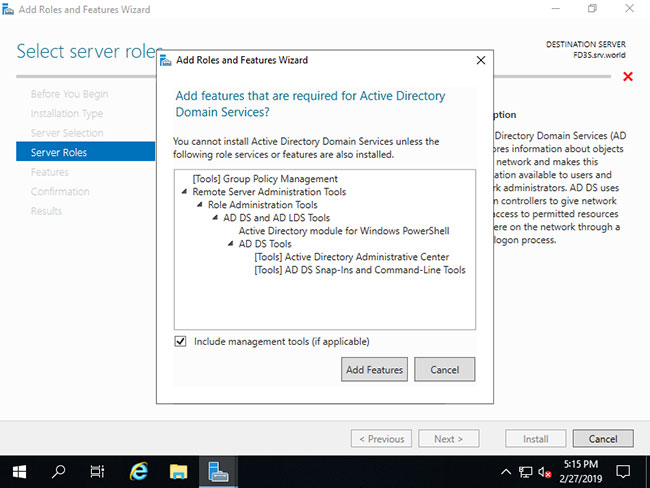
8. Nhấp vào nút Next.
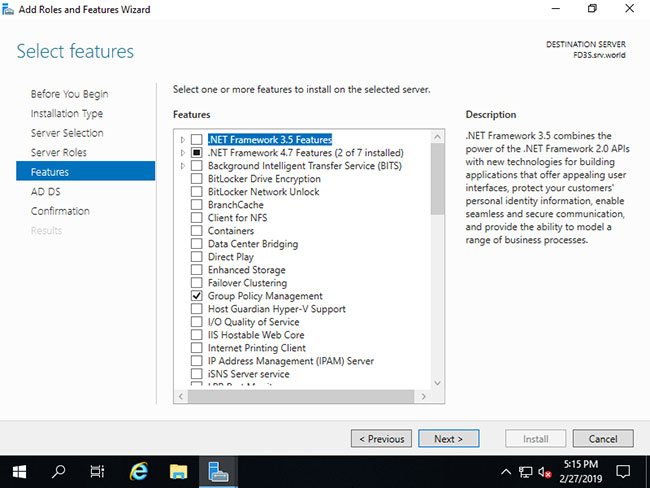
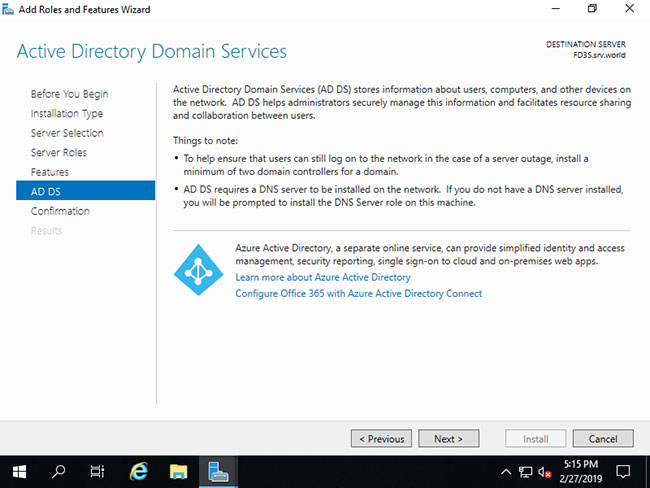
9. Nhấp vào nút Next.
10. Nhấp vào nút Install.
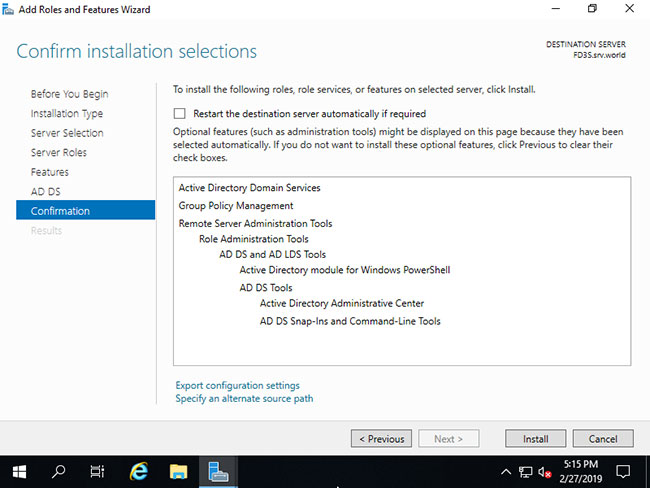
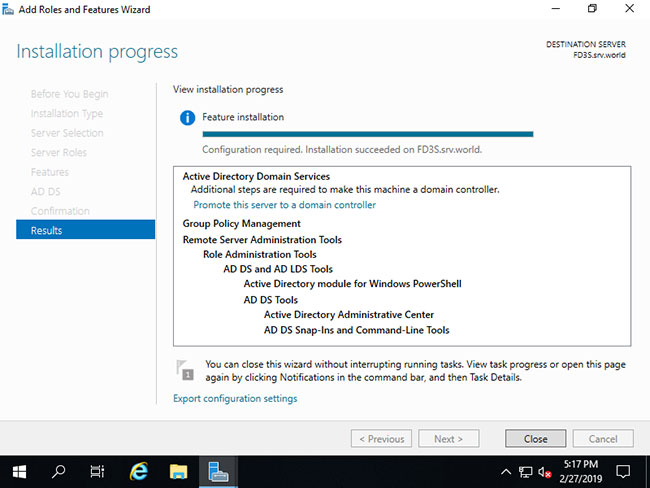
11. Sau khi quá trình cài đặt kết thúc, nhấp vào nút Close.


 Hệ thống
 Windows 11
 Windows 10
 Windows 7
 Windows 8
 Cấu hình Router/Switch
 Hướng dẫn AI
 Ứng dụng
 Game - Trò chơi
 iPhone
 Android
 Làng Công nghệ
 Hàm Excel
 Cuộc sống
 Khoa học